JavaScript Promises Explained for Beginners
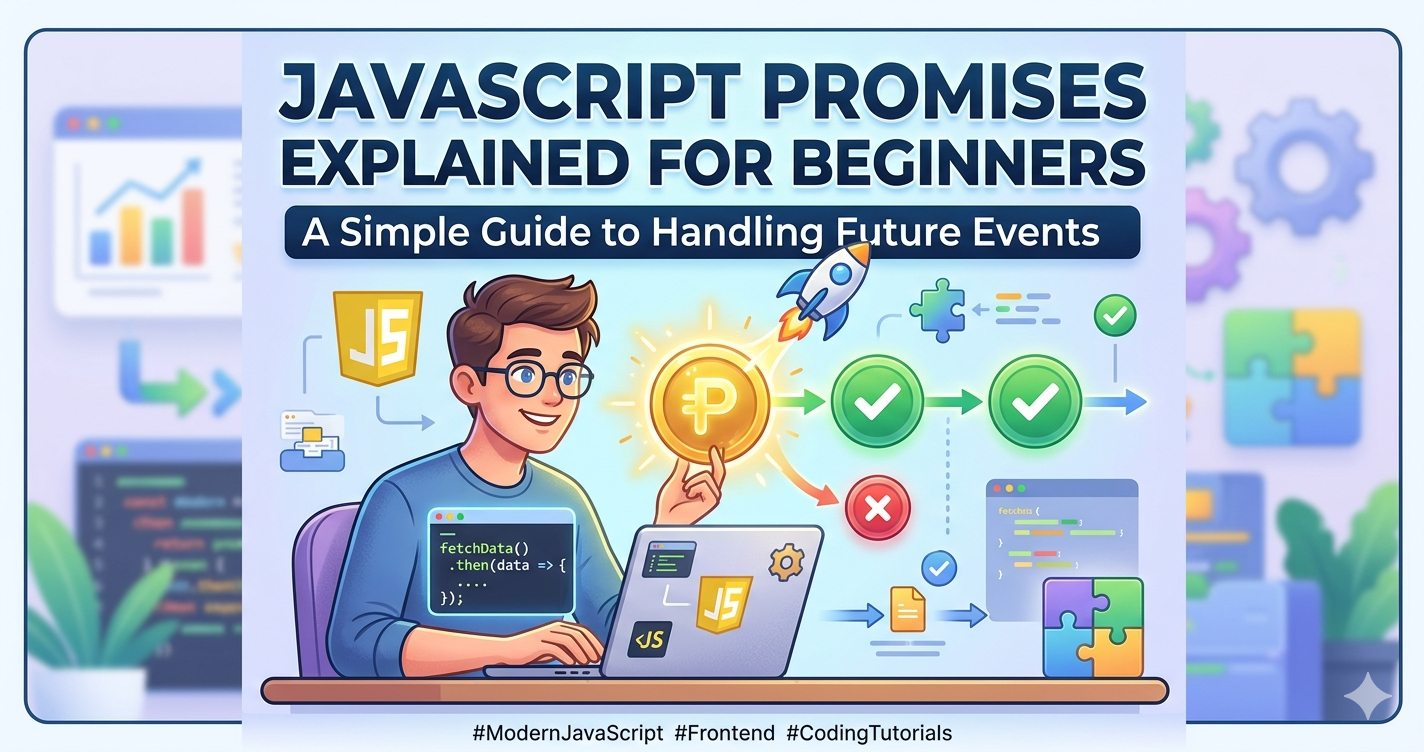
Imagine you’re at a busy burger joint. You place your order, pay, and instead of your food, the cashier hands you a buzzer.
That buzzer is a Promise. It’s not the burger itself, but it represents a "future value." You can go sit down, check your phone, or chat with friends. Eventually, that buzzer will either glow green (your food is ready) or red (they’re out of ingredients).
In JavaScript, Promises allow your code to keep running while waiting for a slow task—like fetching data from a server—to finish in the background.
1. The Problem: The "Callback Hell"
Before Promises, JavaScript relied heavily on callbacks (functions passed into other functions). If you had to perform three tasks in a specific order, your code ended up looking like a sideways pyramid:
getData(function(a) {
    getMoreData(a, function(b) {
        getEvenMoreData(b, function(c) {
            console.log(c);
        });
    });
});
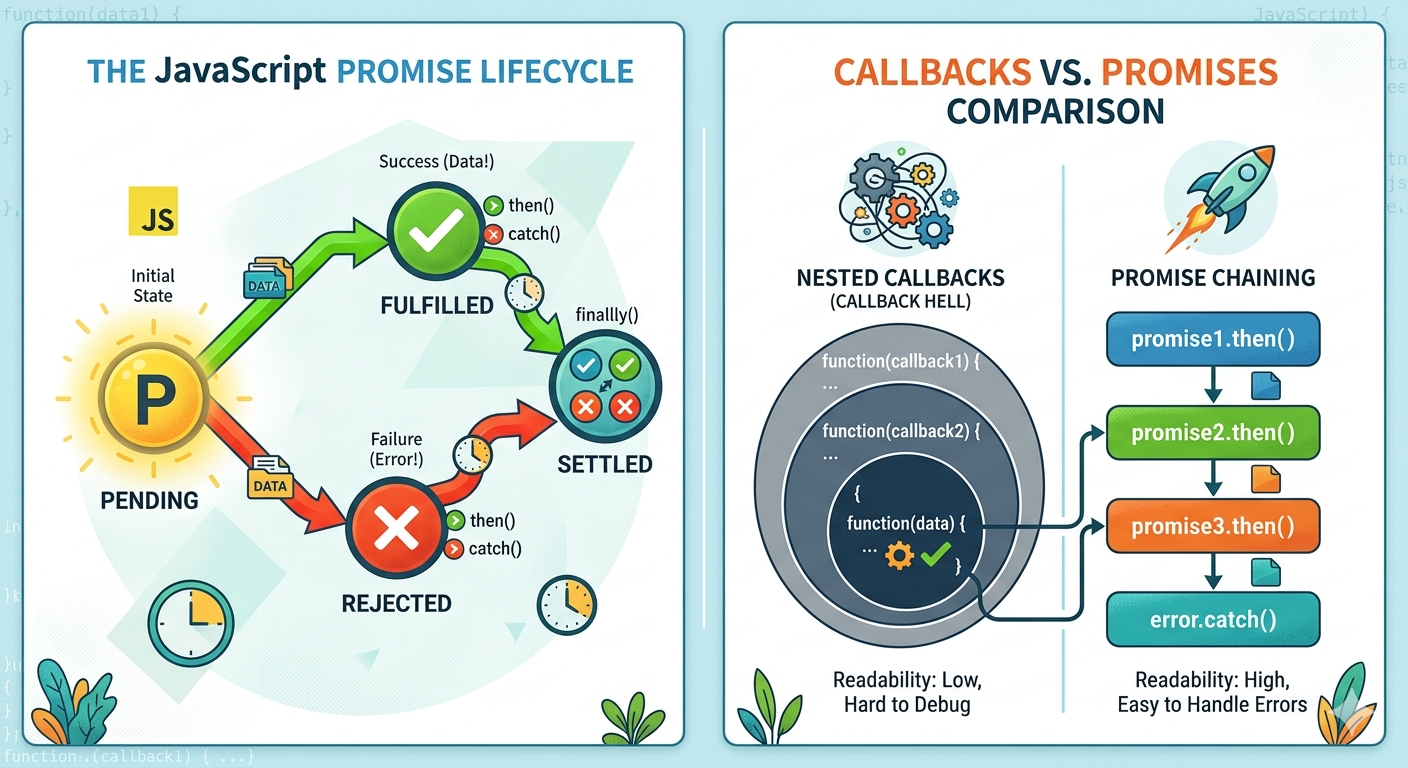
This is known as Callback Hell. It’s hard to read, nearly impossible to debug, and error handling is a nightmare because you have to check for errors at every single level.
2. The Three States of a Promise
A Promise is an object that is always in one of three states:
| State | Description |
|---|---|
| Pending | The initial state. The operation hasn't finished yet (The buzzer hasn't gone off). |
| Fulfilled | The operation completed successfully (You got your burger!). |
| Rejected | The operation failed (The kitchen is closed). |
Once a Promise is either fulfilled or rejected, it is settled. It cannot change its state again.
3. The Promise Lifecycle
To create a Promise, you use the new Promise constructor. It takes a function (an executor) with two arguments: resolve and reject.
const myPromise = new Promise((resolve, reject) => {
    const success = true;

    setTimeout(() => {
        if (success) {
            resolve("Operation Successful! 🎉");
        } else {
            reject("Operation Failed. ❌");
        }
    }, 2000);
});
4. Handling Success and Failure
Once a Promise settles, you need to tell JavaScript what to do next. We use .then() for success and .catch() for errors.
then(): Runs when the promise is fulfilled. It receives the data passed into
resolve..catch(): Runs when the promise is rejected. It receives the error passed into
reject..finally(): Runs no matter what happens (useful for hiding loading spinners).
myPromise
    .then((data) => {
        console.log(data); // "Operation Successful! 🎉"
    })
    .catch((error) => {
        console.error(error); // "Operation Failed. ❌"
    });
5. Promise Chaining
One of the most powerful features of Promises is chaining. Instead of nesting functions inside each other, you can return a new Promise from a .then() block and "pipe" the results down the line.
fetchUser(1)
    .then(user => getPosts(user.id))
    .then(posts => getComments(posts[0].id))
    .then(comments => console.log(comments))
    .catch(err => console.error("Something went wrong:", err));
This makes your code read like a vertical list of steps: "Do this, then do that, then do this other thing." If any step fails, the single .catch() at the bottom catches the error for the entire chain.
Why This Matters
Promises were a massive leap forward for JavaScript readability. They turned messy, nested "spaghetti code" into clean, manageable workflows. While newer tools like async/await (which are built on top of Promises) have made things even cleaner, understanding Promises is the essential foundation for any modern web developer.


